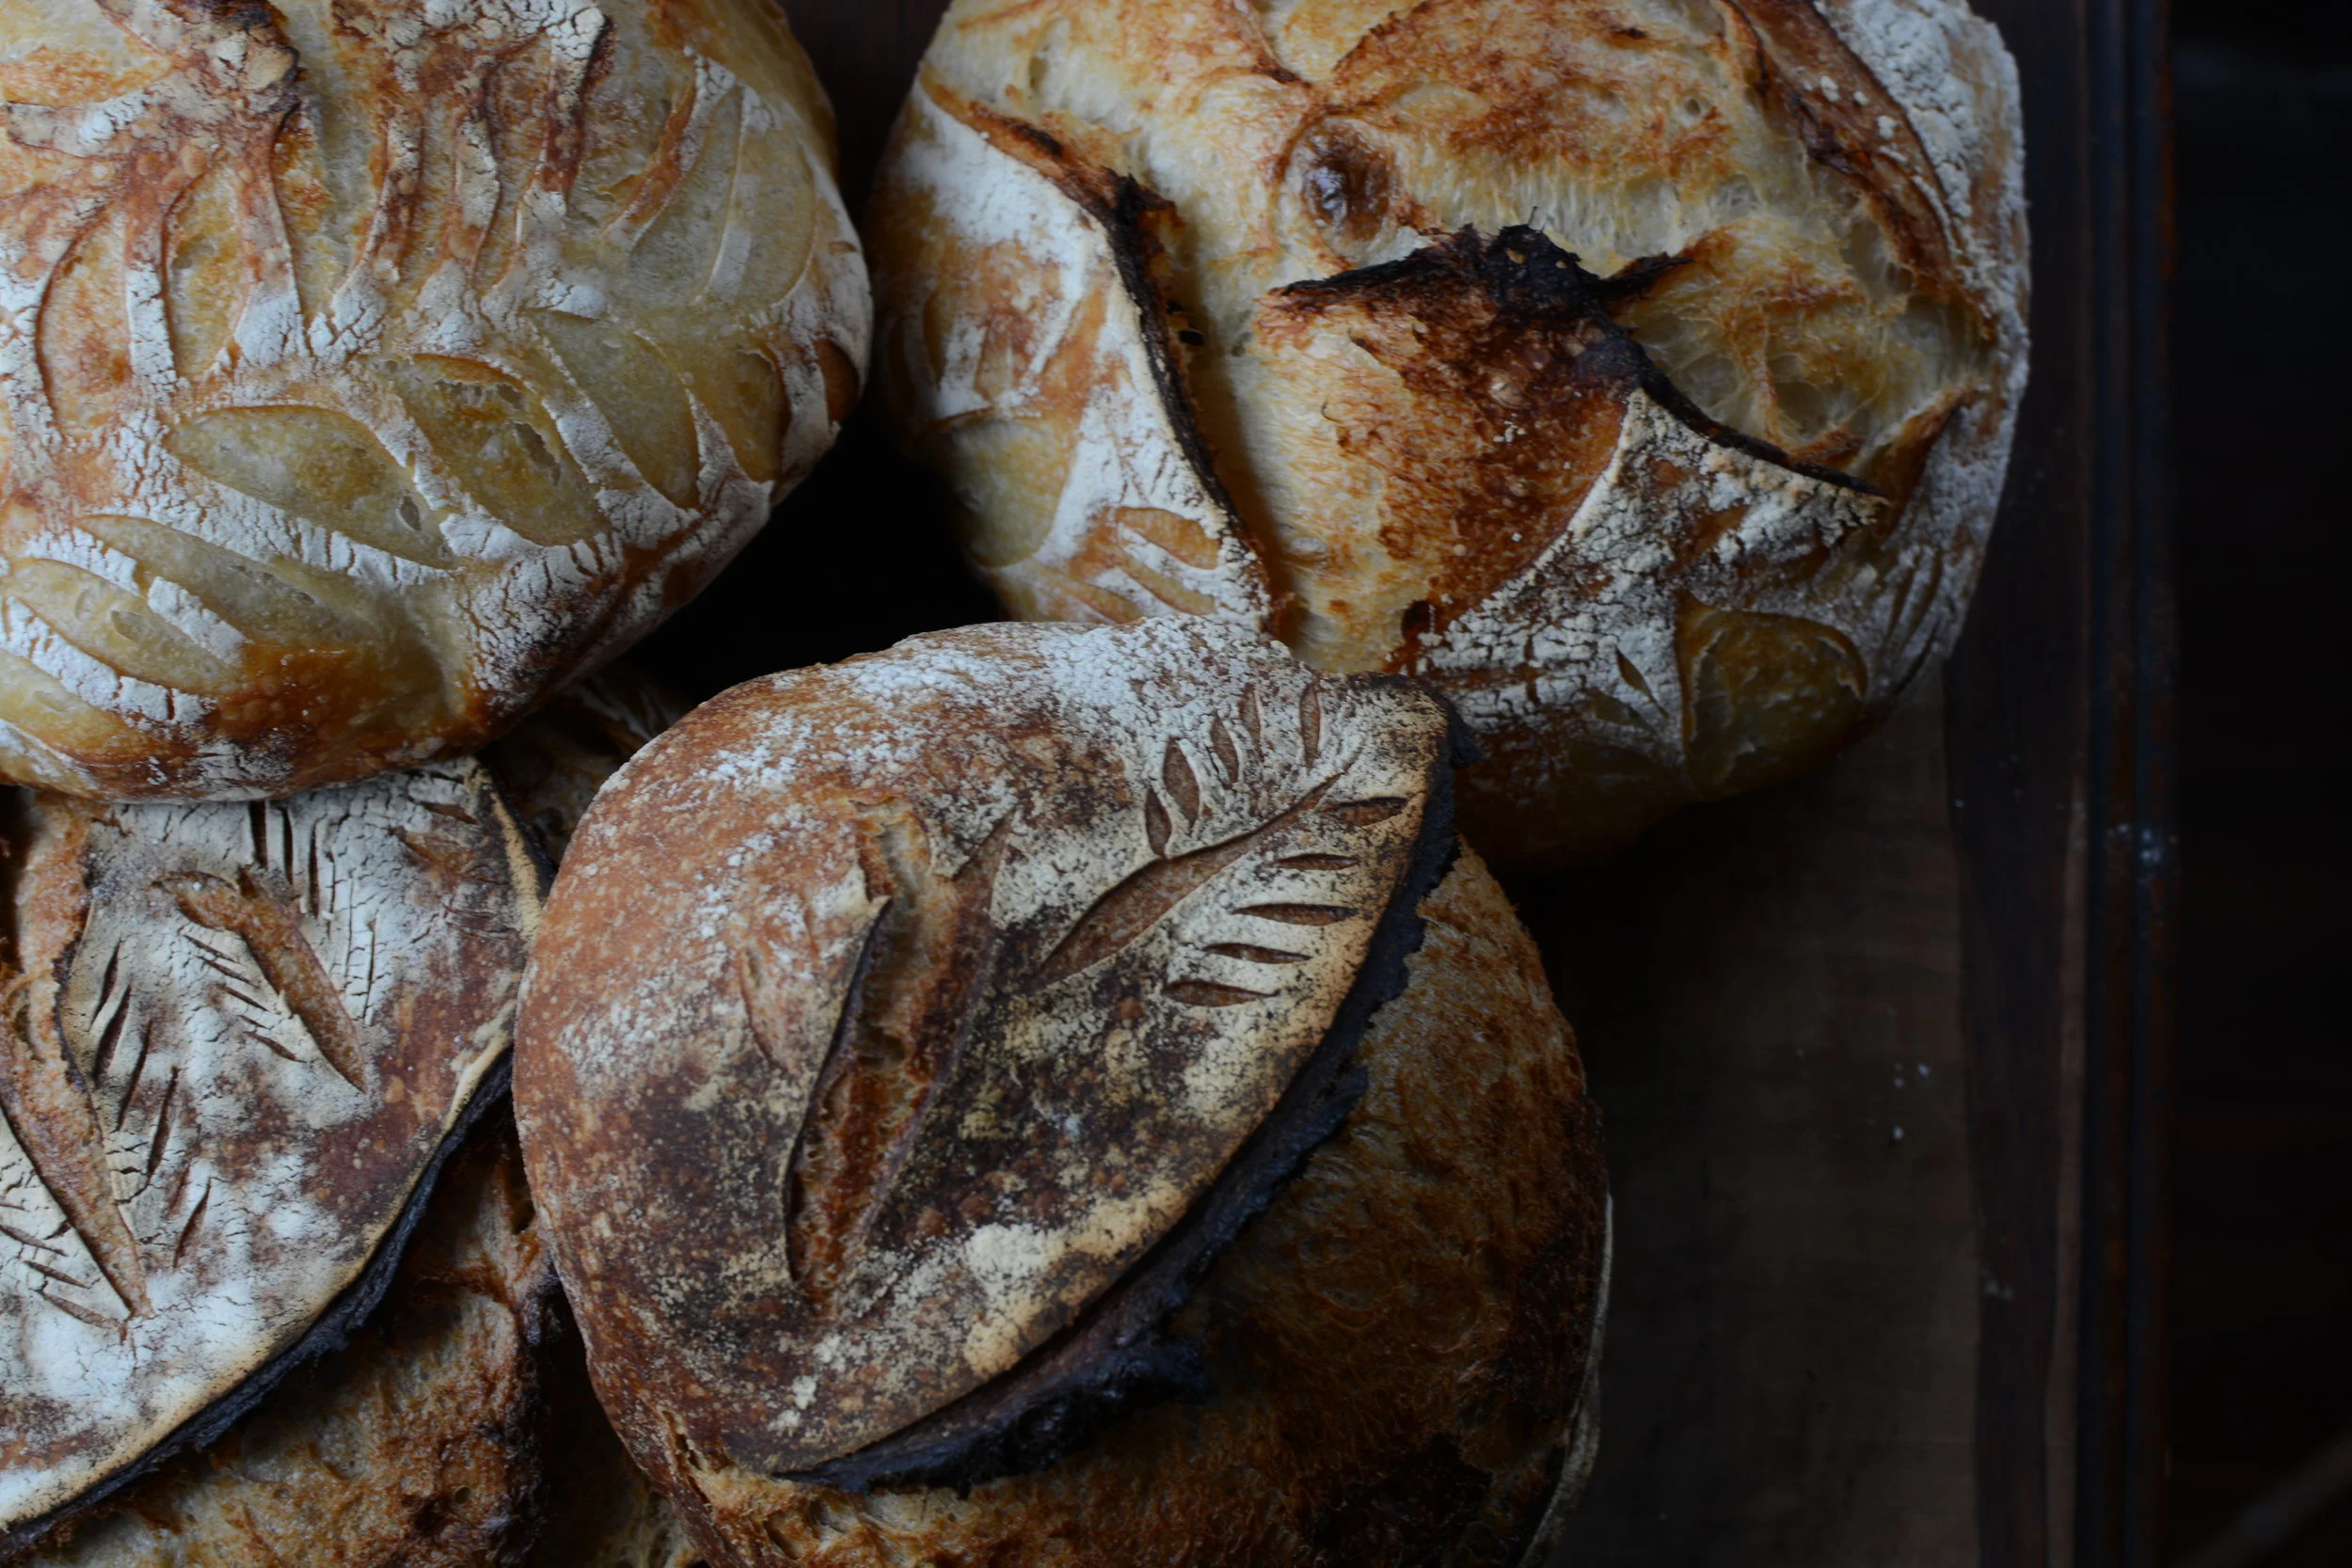
Country Boule
Makes two loaves
INGREDIENTS
For the levain:
1 tablespoon active, fed starter
75g all-purpose or bread flour
75g water
For the dough:
Levain (see above)
750g bread flour
250g all-purpose flour
1 ½-2 tablespoons salt
800g water
PROCESS
Day 1 (morning): Build levain
First think in the morning, mix together your levain ingredients, cover, and allow to ferment on the counter or in a warm spot for 3-5 hours until bubbly and active.
Day 1 (afternoon): Make your bread
Once your levain is active, place it in your mixing bowl and add the water. It is best to use room temperature to warm water, as it is ideal for the levain to remain roughly the same temperature throughout the bread-making process. Use your hand or a wooden spoon to dissolve the levain in the water so that no large clumps remain.
Next, add the flour to your liquid mixture and stir thoroughly so that no dry spots of flour are left.
Cover with a kitchen towel and leave to hydrate in a warm spot for at least 30 minutes and up to 4 hours. 1-2 hours is typically just right.
To add the salt after your dough mixture has hydrated, sprinkle it over the top of the dough, and use your hands to fold the salt into the dough by pulling up on the side and folding it over. Repeat several times. This action also helps to build gluten and strengthen the dough.
Your dough is now entering bulk fermentation. During bulk, the dough is stretched and folded several times to continue strengthening the dough.
Bulk fermentation lasts between 2 and 4 hours depending on the temperatures surrounding the dough. On a cold day, it can take 4 hours and on a hot one it is closer to 2. Bulk fermentation is complete when the dough has grown considerably in size and air bubbles are visible on top of the dough.
Every thirty minutes or so during bulk, fold the dough in the bowl four times, pulling up the dough and folding it over in each direction.
After the final stretch, allow the dough to rest in the bowl for 30-60 minutes.
Divide the dough in half gently on a floured counter. Shape the dough into loose rounds using a pastry scraper or your hands.
Rest 20-30 minutes.
Line two proofing baskets with clean dishtowels and flour generously.
Shape the loaves:
Flour the top of the ball of dough and turn over. Shape by pulling the sides up and around the center of the dough all the way around the ball, creating a taut and bouncy surface.
Dust the tops and sides with flour, and place in the proofing baskets, seams up.
Cover loosely with plastic wrap, beeswax wrap, or kitchen towels.
Allow the loaves to proof for 10-15 hours (longer is ok too!) in the refrigerator.
Alternatively, you can proof your loaves at warm room temperature for 3-4 hours and bake the same day.
Day 2: Bake your bread
Heat your oven to 500 degrees with your Dutch oven(s) inside.
When the oven is hot, remove your dough from the refrigerator and carefully tip each loaf seam side down onto a square of parchment paper slightly larger than the dough itself.
Score the top of the loaf with a razor blade or lame using a quick, angled cut. If desired, dust your loaves with a bit of rice flour and use your blade to create a decorative scoring design.
Remove the Dutch oven from the hot oven, and place the loaf inside (using the parchment to transfer the loaf to the hot pot).
Affix the lid on your pot and return it to the oven for 20 minutes.
After 20 minutes, lower the temperature to 450 degrees and bake another 10 minutes with the lid on.
Remove the lid and bake a final 15-25 minutes until deeply browned. (17 minutes is perfect in my home oven, but yours may vary)
*Note: Since publishing this recipe in volume 4 of the Sugar House zine, I have started using a new oven. In my new oven, I bake the loaves at 485 degrees for 12 minutes, lower the temperature to 450 and bake another 12 minutes, and then remove the lids and bake 15 minutes. If you’re finding the bottoms of your loaves are too dark or otherwise need to adjust the cooking temperature and time, don’t hesitate - ovens can vary widely in how hot they can stay and how the heat is circulated inside the oven.
Allow to cool, and enjoy! Your bread will last for a few days at room temperature. We typically dig into one loaf right away, storing the cut loaf in a linen bread bag, and keep the second loaf in my Dutch oven until we’re ready to enjoy it. You can also freeze your loaves for later by waiting until they cool to room temperature and wrapping tightly in plastic wrap.


