Seasonal Story Club
Below you will find inspiration, instruction, as well as photographs and comments from our story club community.
What is the Sugarhouse Seasonal Story Club?
The Seasonal Story Club was a subscription-based club that allows members to receive two play silks, hand-dyed with plants and minerals, each season, along with: natural and naturally dyed materials for a simple craft, recipes and activity ideas for making the most of the season, and a print of an exclusive illustration by artist Lindsey Pemberton, all inspired by an original story with each shipment.
Think stories of surprise violet patches and spring fairies (and a recipe for violet jam), forest animals celebrating summertime with a giant party by moonlight (and the cake they baked), and blankets of white wool knitted to keep winter's seeds warm.
Below is an archive of our 2018 Story Club. Subscriptions are not currently available, but the seasonal guides will be released as downloadable PDFs in the coming future.
winter
Our winter story box included: one deep blue and one ice blue naturally-dyed play silk; squares of indigo-dyed cotton, a length of indigo-dyed cotton thread, and a bag of organic lavender flowers for making a soothing herbal pillow; a story about Briar, a rabbit who makes a cozy home under the roots of a great pine and loves the moon; a print of an illustration of Briar under the full moon by Lindsey Pemberton; recipes for Moon Milk Tea, Winter Ribollita, and Marbled Tahini Chocolate Shortbread, plus a list of ways to embrace the quiet of winter, a formula for homemade evergreen bath salts, and a guide for tuning in to the cycles of the moon.
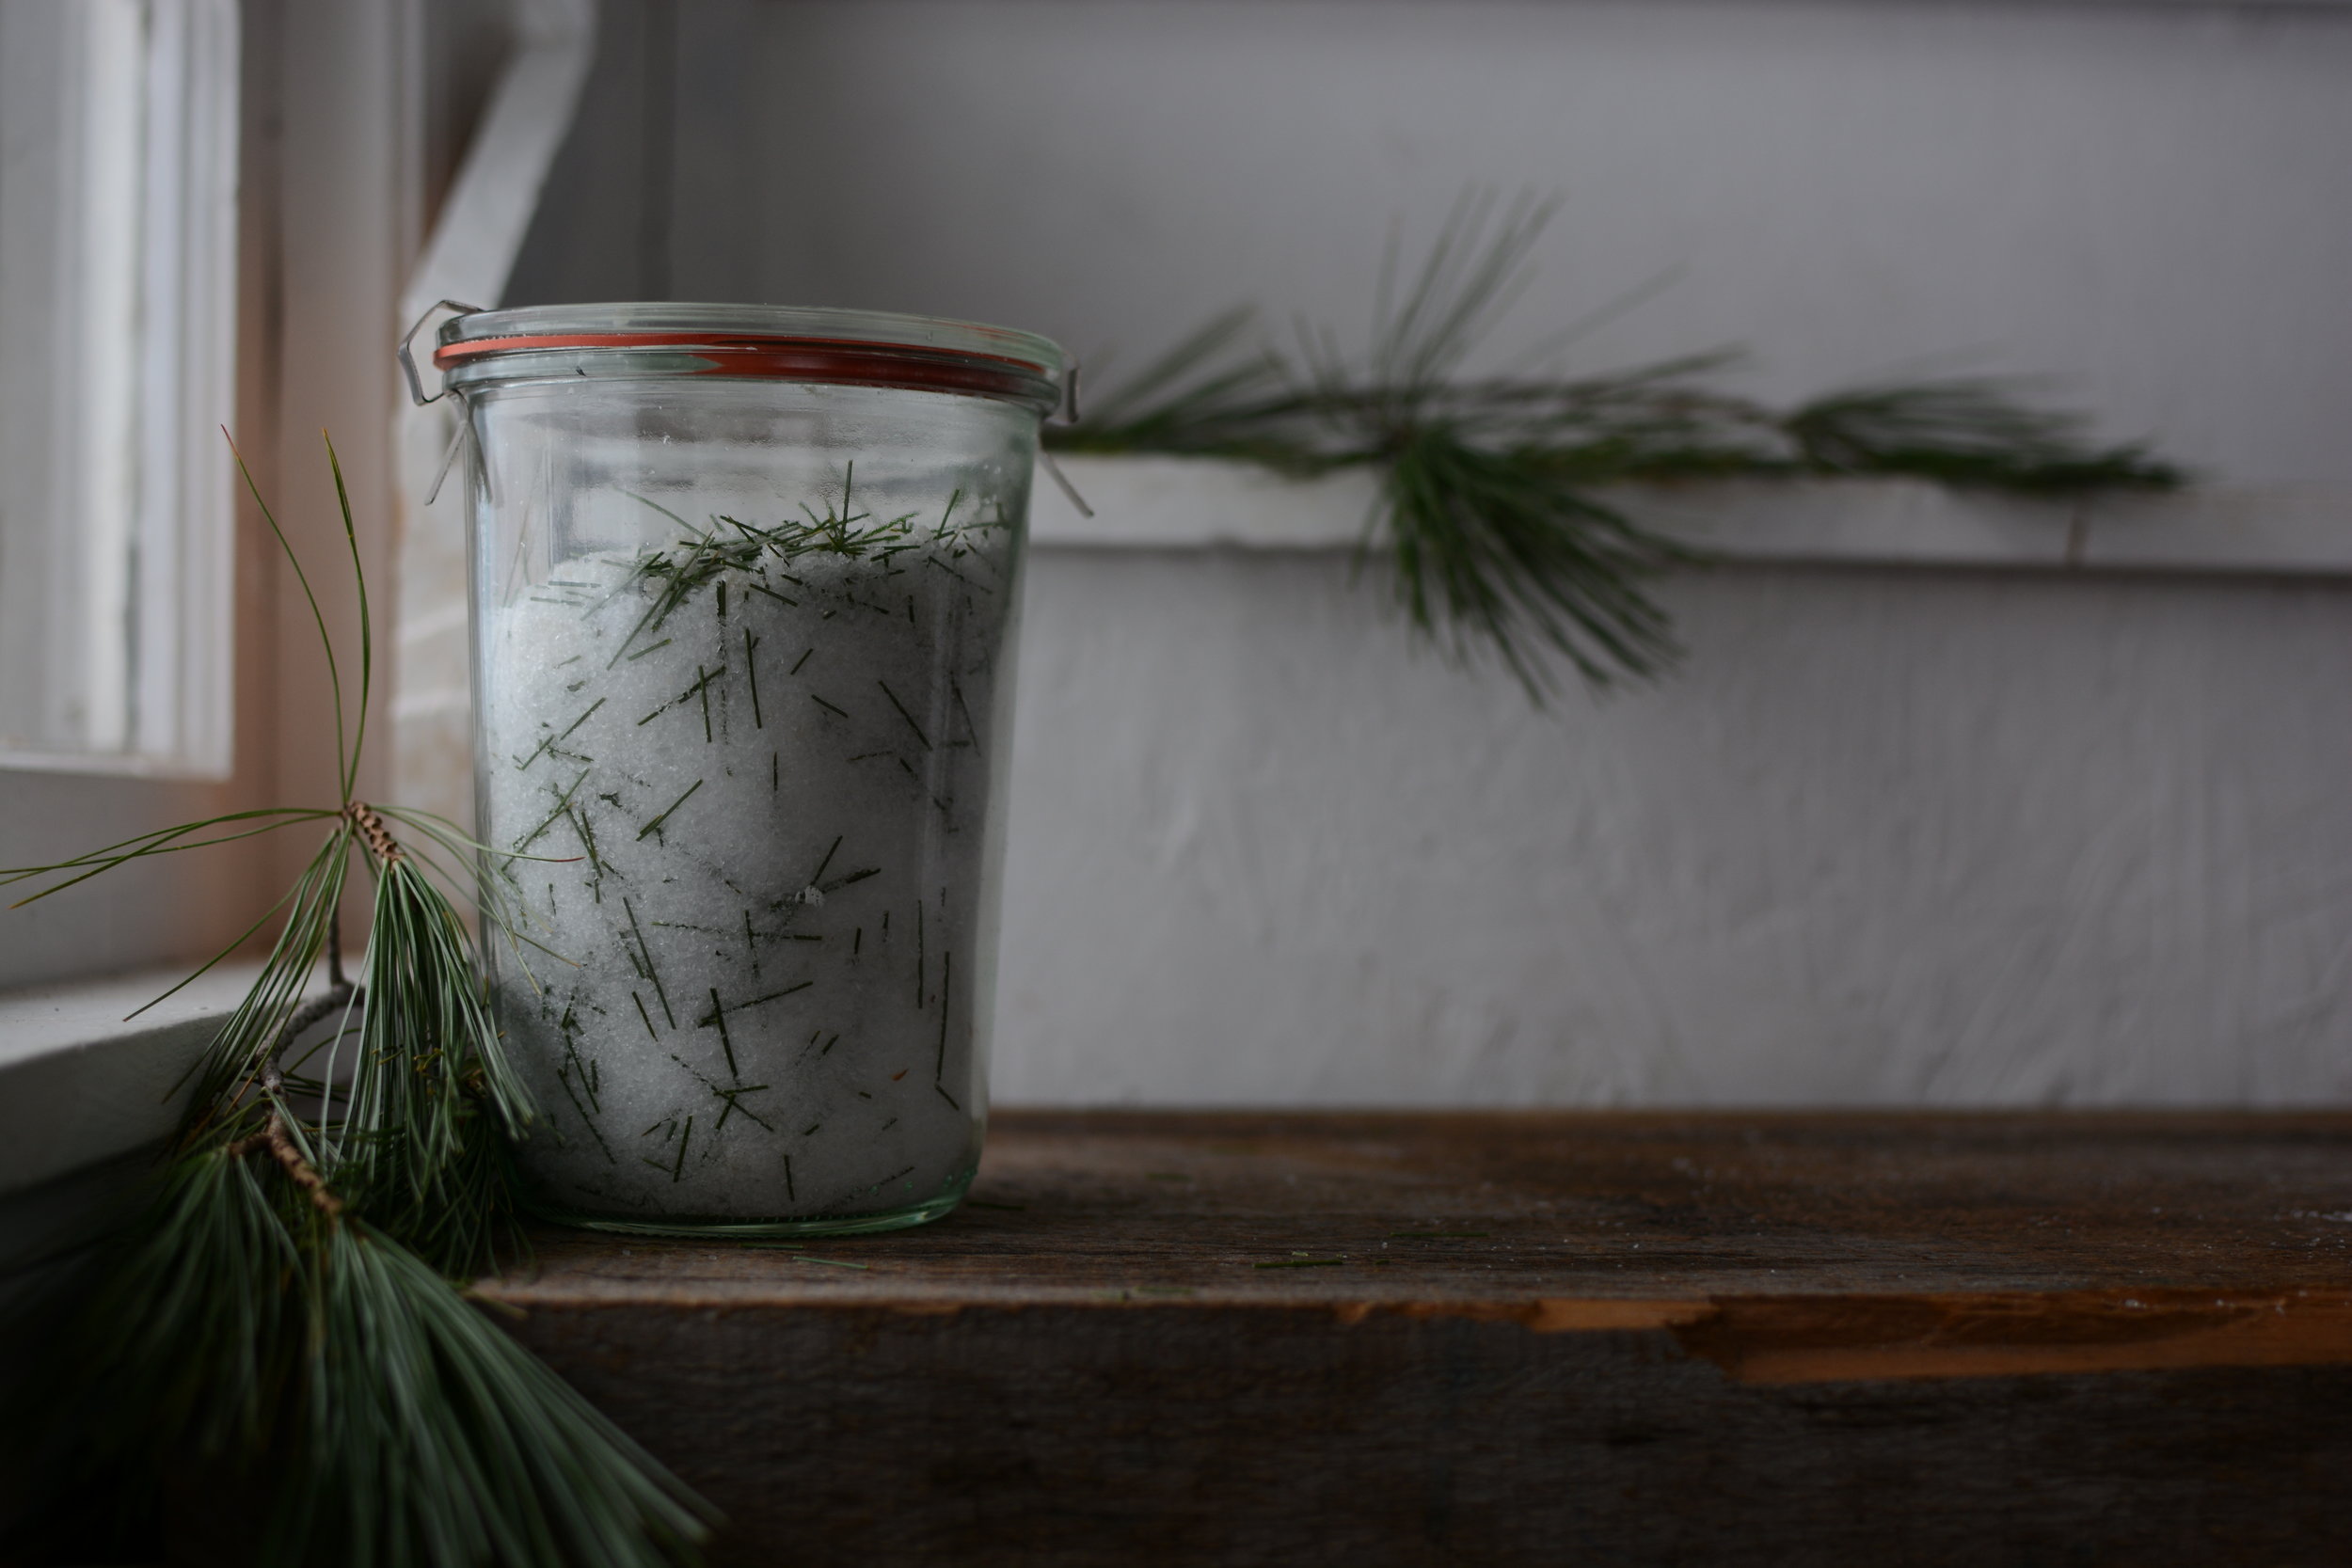
Making white pine bath salts
Marbled Tahini Chocolate Shortbread
Making A Lavender Pillow
Below you’ll find photos and instructions to accompany the lavender pillow tutorial in your seasonal guide. The first set of photos is for the machine-sewn version, and the hand-stitched variation follows.
If you would like to embroider the front of your pillow with indigo thread, do so before beginning to sew the pillow together.
With right sides together, line up your two pieces of blue fabric. Cut a length of approximately 3” from the indigo tape that was wrapped around your story box. Make a loop with the tape, and tuck the loop in between the two pieces of fabric in the center top of the square. The raw edges of tape should just poke out above the fabric. Pin in place. Along the bottom, pin the squares together about 2” apart to mark the beginning and end of where you will sew.
Sew around from one pin to the other, leaving the gap between the 2 pins unsewn. Turn right side out and press.
Fill the opening with lavender. You can also add some flax seeds to add some weight to the pillow if desired.
After you’ve added the lavender, sew the opening closed by hand using a simple ladder stitch. You can find a good tutorial here.
Your pillow is finished!
For the hand-stitched pillow, begin by placing your squares of fabric together with the wrong sides together. Create a loop using about 3” of indigo tape from your story box, and pin the loop in place between the two squares so that the loop is coming from the top center of the pillow.
Sew around the square leaving a 2” opening on one side, sewing down the loop as you go.
Place the bag of lavender (or empty the lavender in if your stitches are close enough that the flowers will not spill out) inside the squares.
Finish sewing down the side seam of your pillow, and it is complete!
AUTUMN
Our autumn story box included: one golden orange and one maple red naturally-dyed play silk, lengths of naturally dyed silk ribbons (dyed using madder root, black walnut, and onion skins) and a maple wood ring for making a playful hand kite - all wrapped up in a cotton drawstring bag dip-dyed with black walnut, a story about Cyrena the leaf fairy and an adventure she takes with three young sisters to paint the fall leaves, a print of an illustration of Cyrena and her magical paints by Lindsey Pemberton, recipes for Apple Cider Baked Oatmeal and Harvest Hand Pies with several filling suggestions, plus our quick guide to making natural dyes with trees - black walnut, acorns from oak trees, bark from the birches.
Apple Cider Baked Oatmeal
Harvest Hand Pies filled with apples and pears
community photos and projects
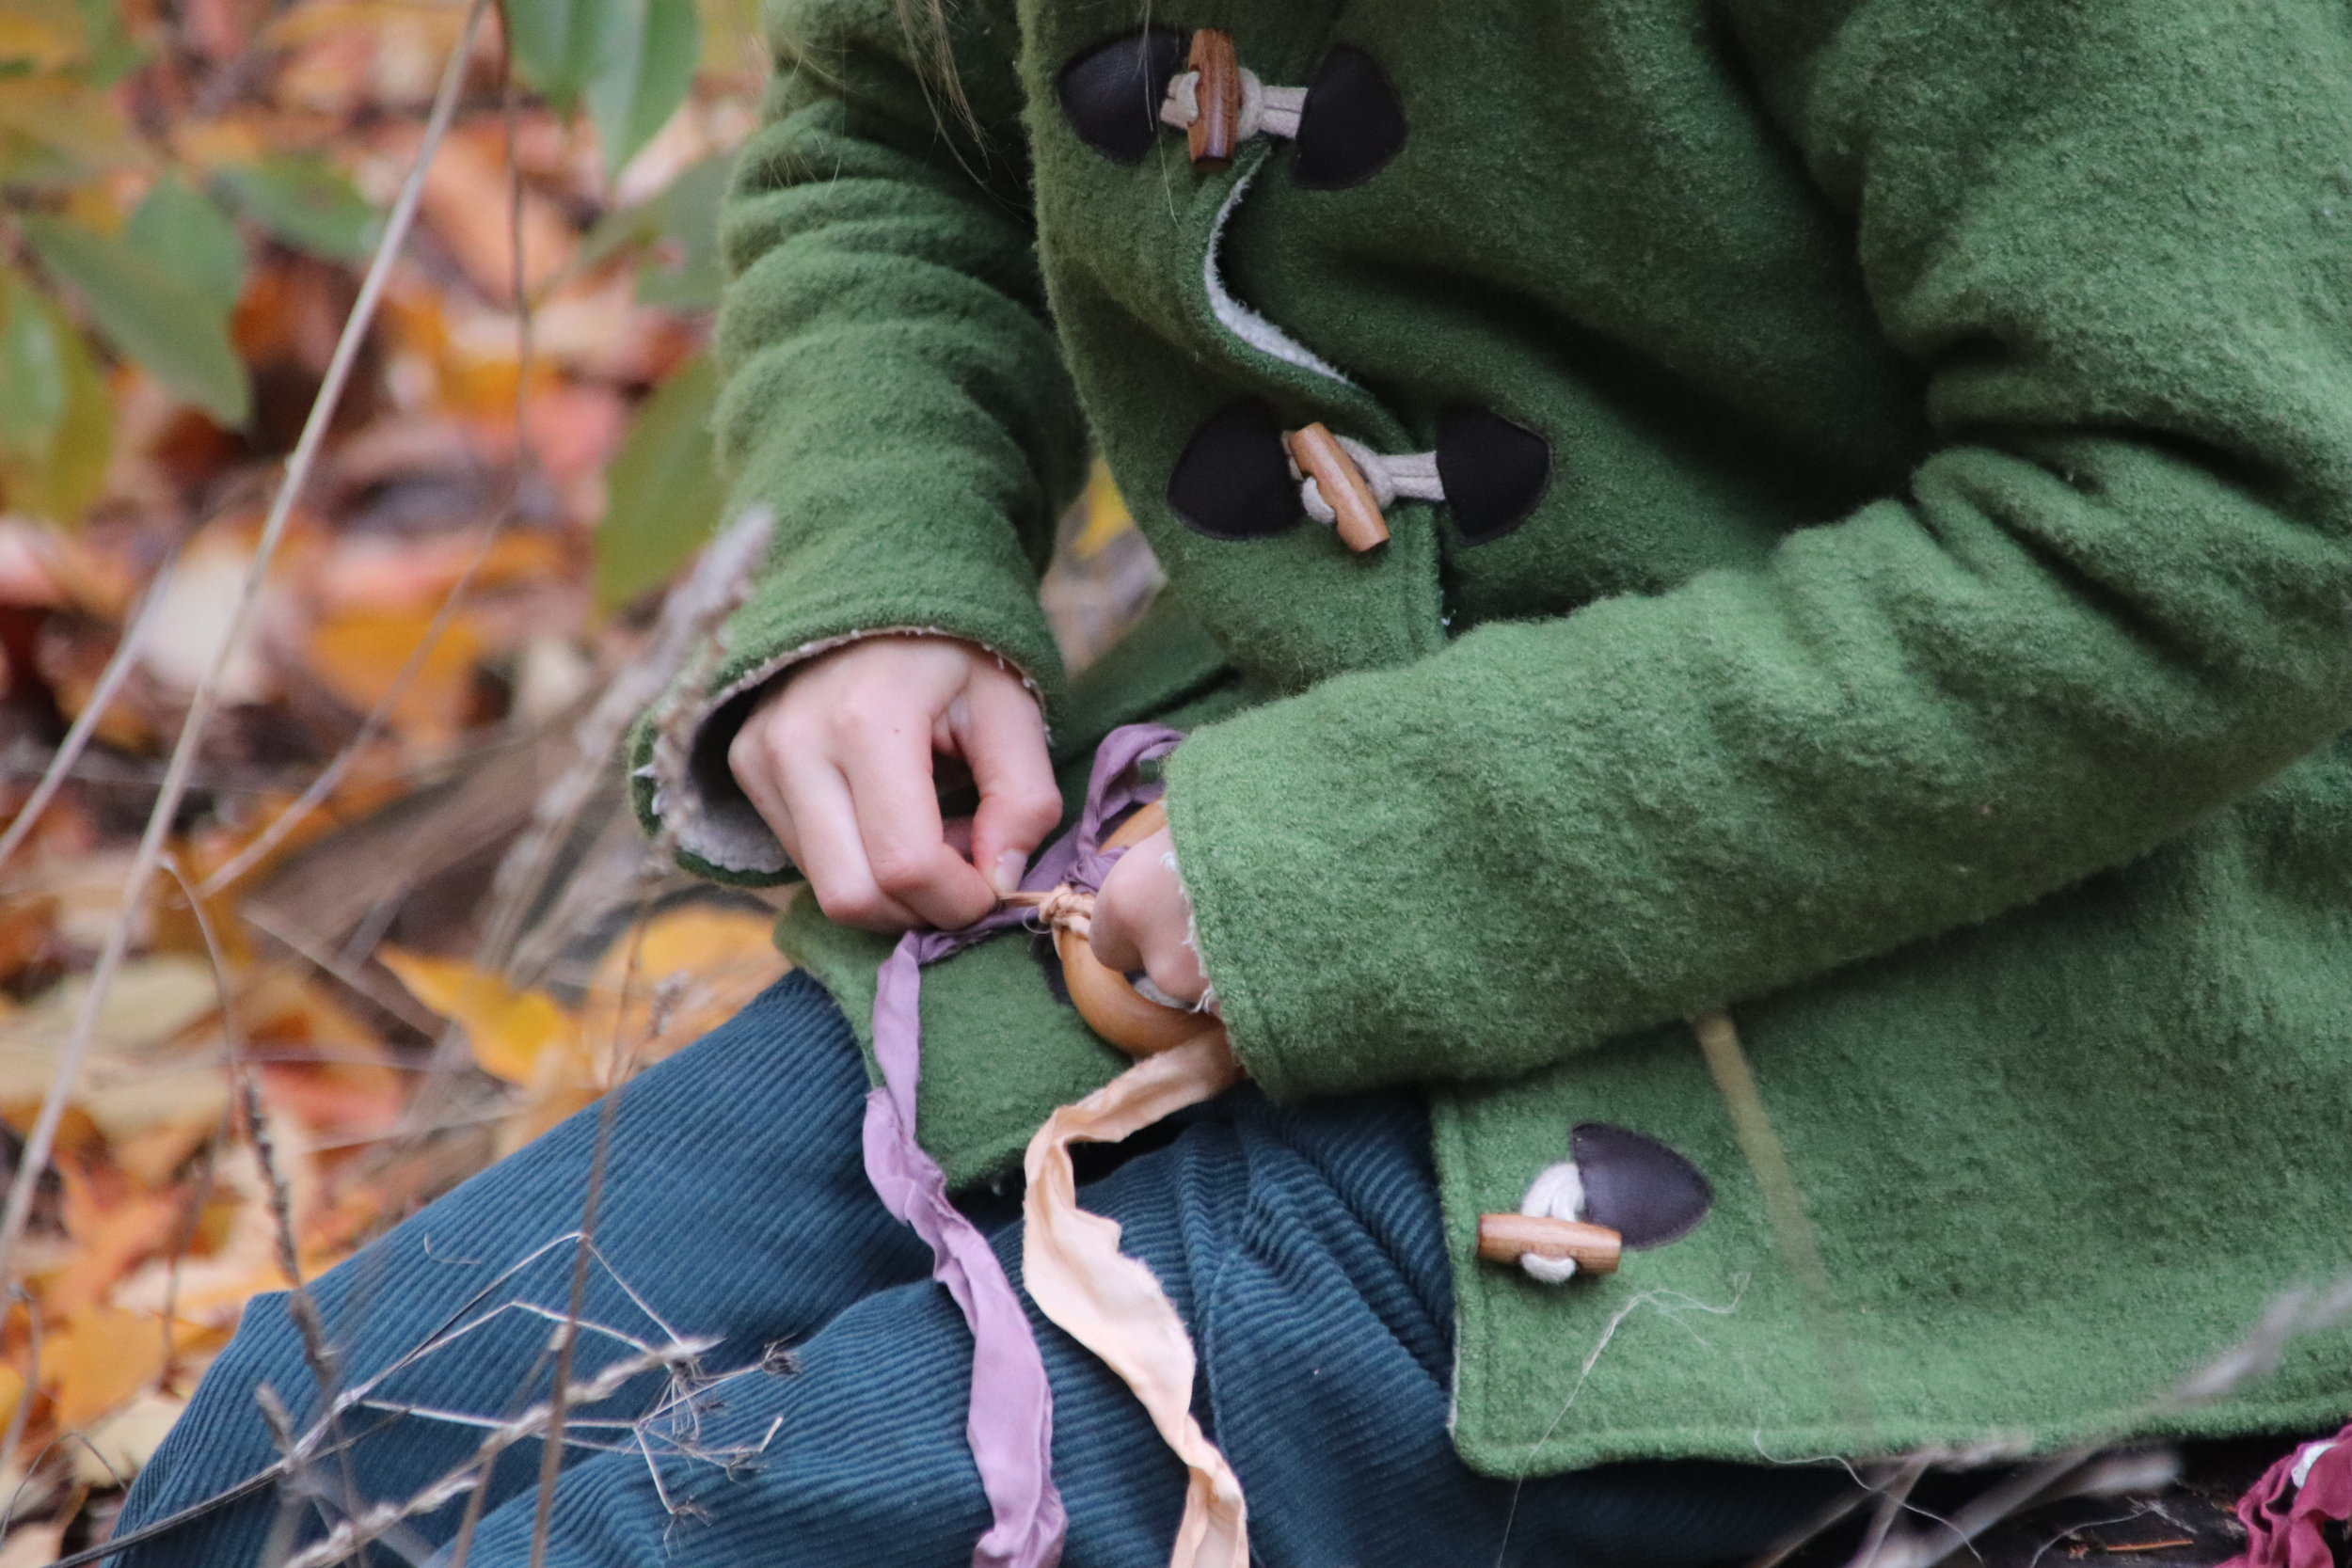
A beautiful run in the forest with Eva and her sweet girls.
Make a Hand Kite
Made from silk ribbons and a maple wood ring waxed with beeswax, full instructions for making these hand kites is in the autumn story box book.
summer
Our summer story box included: one sunny yellow and one petal pink naturally-dyed play silk, two pieces of natural wool felt dyed with dandelion flowers and indigo and one length of cotton sashiko thread for making a swallowtail butterfly finger puppet, a story about Sam and the stone bridge he built to take him to a magical party in the forest, a print of an illustration of Sam and his animal friends enjoying a starlit evening by Lindsey Pemberton, recipes for honey lemonade, Summer Berry Sharing Cake, and a petal and spice sprinkle, plus our Flower Feet guide to reconnecting with busy little ones with evening foot baths and nourishing herbal oils.
community photos and projects
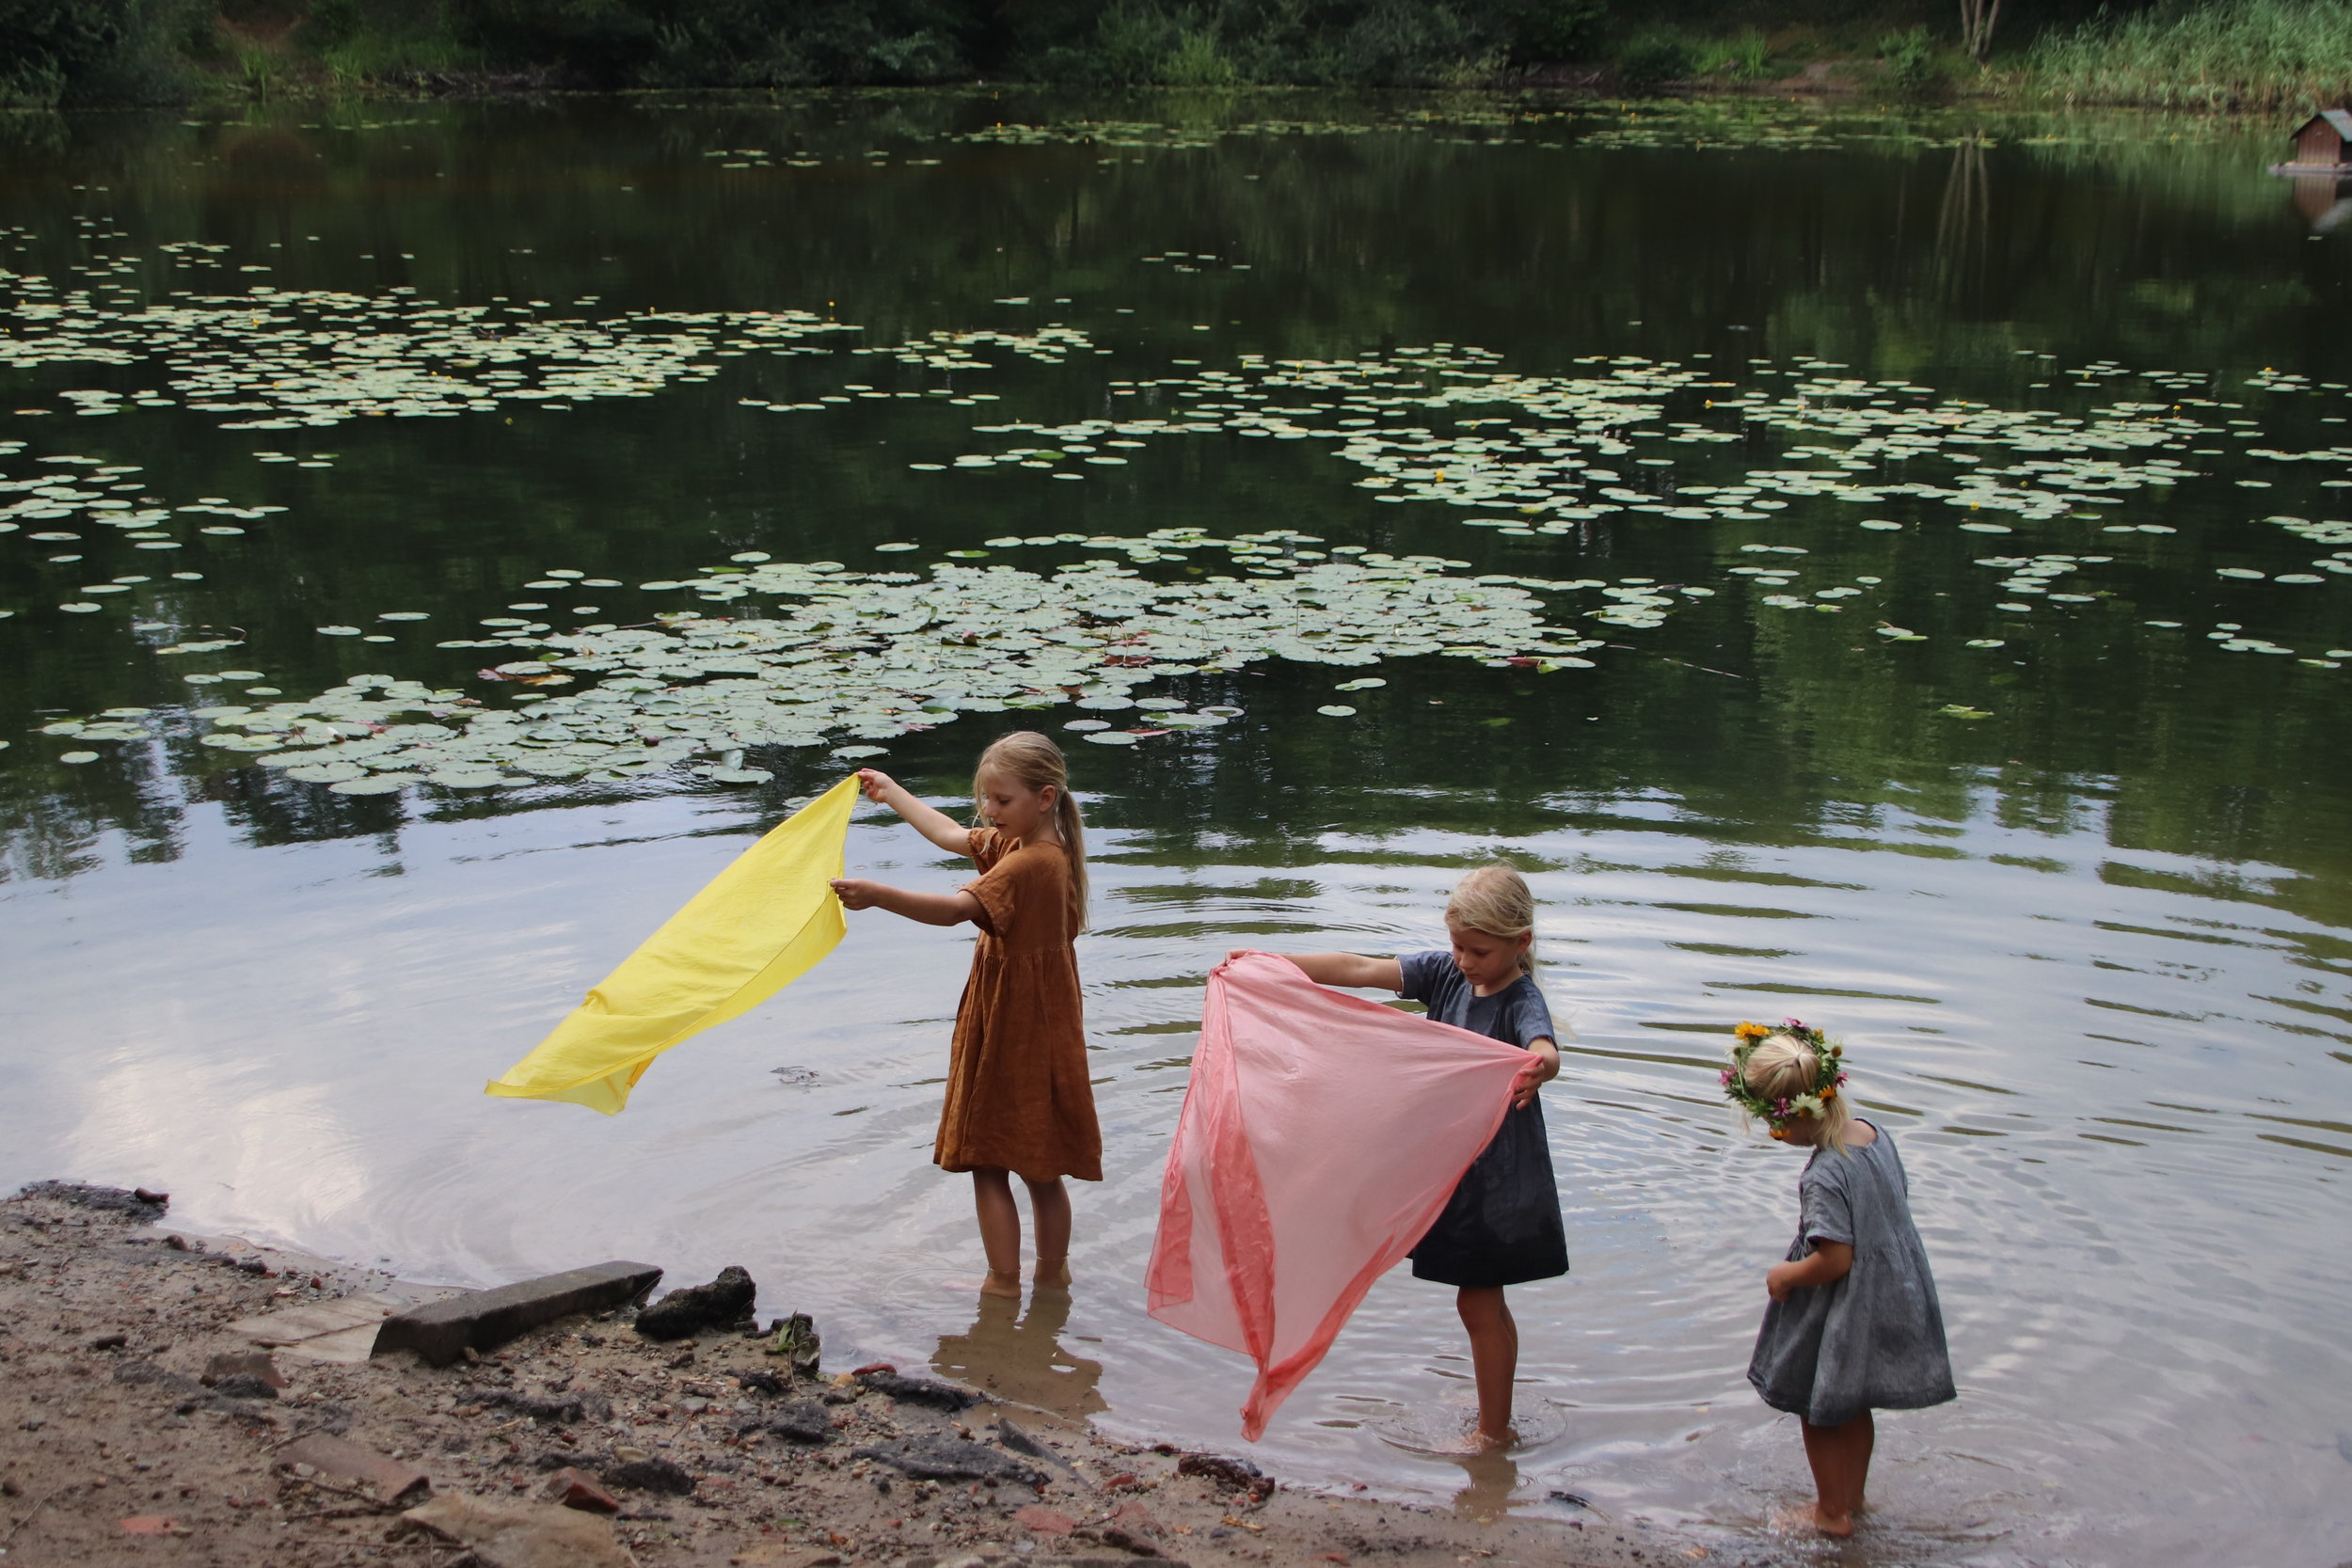
Above, another beautiful day with Eva's girls in Germany.
Flower Feet: A summer self-care practice for littles
Our boys love foot baths. Often we do them inside before bedtime, sometimes we take them outside and add a few fresh flowers to the water. After a soak, we take a moment for a little foot massage. Right now we're using an infused oil of red clover and plantain, two gentle and abundant plants growing outside our door. It smells earthy and sweet. Instructions are included for making an herbal oil in your summer booklet, and you can reference the photos of making violet honey below in our spring guide, as the process is nearly identical.
SWALLOWTAIL BUTTERFLY FINGER PUPPET
Modeled after the beautiful Eastern Tiger Swallowtail butterflies that keep us company all summer long (and whisper to Sam in the forest), the wool felt included in the summer boxes was dyed with dandelion flowers and indigo to mimic their soft yellow and blue-black colors.
Instructions and template included in the summer booklet, photos and detailed instructions below:
Begin by gathering your materials, including the template, wool felt, sashiko thread (included in the box, or any other sturdy thread), large scissors, small snips or a razor blade or craft knife, sewing needle, and at least one pin.
Position the template on the felt (you can cut one at a time or both at once if your scissors are sharp enough) and pin in place. Instead of centering the butterfly template, try positioning it closer to the top of the felt to leave more/larger excess that you will trim off.
Using the largest bit of felt you trimmed off, cut out a semi-circle that is roughly a bit larger than your fingertip. This will be sewn on the back of the butterfly so it can be used as a puppet.
Next, use your snips or a craft knife/razor blade to cut the eyelet shapes in the yellow felt.
Pin the fingertip shape onto the center of the back of the indigo felt. Pull your needle up from between the semi-circle and the butterfly back to help hide the knot when you're finished.
Stitch the shape on using a whip stitch, beginning at the bottom right corner of the shape and working all the way around to the other side. Tie off your thread and trim excess. .
Trim off the excess from your starting knot, and tuck into the semi-circle to finish attaching.
Now, line up your yellow and indigo felt pieces so that the semi-circle for your finger is on the back of the butterfly (not inside). Beginning anywhere around the outside, insert your needle between the two shapes and begin sewing the butterfly together using a straight stitch.
Once you've gone all the way around, tie off your thread and trim the ends of both your starting and finishing knots, and tuck them to the inside of the butterfly. Your butterfly is ready to fly!
Spring
Our spring box included one mossy green and one violet purple naturally-dyed play silk, several squares of naturally-dyed linen in a palette of spring shades with wool felt and a violet-colored storage bag dyed with logwood for a quilt craft, a story about Hazel and the grey days at the end of winter that lead to a refreshing spring surprise, a print of an illustration by Lindsey Pemberton of our friend Hazel under her oak tree, finding signs of spring, a simple guide to the medicine of wild violets and how to make violet honey, a recipe for picnic shortbread, and a bonus coloring page based on Hazel's story.
community photos and projects
A beautiful series of photos of Eva's sweet girls in Germany enjoying their seasonally-inspired playsilks for a spring tea party!
A sweet and perfectly crafted play quilt made from spring club's linen made by Mariamni, a special heirloom in shades of spring:
Making Violet Honey
Full instructions are included in your spring book, and here you will find accompanying photos to provide a brief visual overview for how to make violet (or any herbal) honey. As the seasons change, try rose petals in your honey or lavender, anise hyssop, or bee balm.
Gather your blossoms, and pick through to remove any grasses and long stems before adding them to the jar you would like to infuse your honey in.
Next, pour honey over your blossoms to cover them completely. Stir the flowers in with a wooden spoon or stick, and top off with more honey.
Allow the flowers to infuse for anywhere from two to up to six weeks, strain, and enjoy!
Hazel's Quilt
Included here are photos and instructions to accompany the Hazel's Quilt activity in your spring book. This is the simplest version of the quilt, on that even little hands can help with and amateur sewists can stitch together. The materials can also be used to make a small play quilt with sewn seams and binding if you'd like.
Begin by gathering your materials, including the linen and wool included in your box, as well as scissors, straight pins, needle, and thread if you plan to finish the quilt. If you'd prefer to leave your pieces loose so your children can rearrange the quilt as they please, just follow the directions for cutting and skip the stitches to finish.
Cut each square into four equal squares by cutting once down the center, and then cutting each half in half again.
To create half-square triangles, cut from one corner to the opposite corner of each of the four squares to create 8 (roughly) equal sized triangles. Repeat for all squares and colors as you desire.
Now you can design your quilt pattern! Arrange the triangles in any pattern you wish, a few are shown below to inspire your qulit-making. The wool provided creates a gently sticking surface that will help to keep the triangles in place as you design.
After you've determined the final pattern you would like to stitch into a quilt, affix the triangles in place with pins to keep them stable as you stitch.
Tie a knot at the end of your thread and pull the thread up from the bottom of the quilt to the top in any corner. Use a running stitch to sew up or across one row, sewing the triangles on to the wool. After your needle as gone in near the top of the row, bring the thread up from underneath at the top of a new row and stitch down the quilt parallel to your last line of stitches.
Once you reach the last row of stitches, tie your string off on the wool side of the quilt and trim any excess thread.
You now have a simple play quilt! You can use it as a prop in your storytelling, to tuck in small dolls or as a rug in a dollhouse, to lay special treasures on top of, or as a mat for special tea cups.


